In this tutorial, we’ll learn how to build authentication API with jwt token in node js to secure endpoints and even authenticate users. Writing code and developing applications is quite simple, but security is always a concern when it comes to efficient apps. So, without wasting much time, let’s start together.
What is Authentication and Authorization?
Security uses authentication and authorization, especially when it comes to gaining access to a system. But there’s a big difference between getting into a house (authentication) and what you can do once you’re there (authorization).
Authentication
Authentication is the process of confirming a user’s identity by obtaining credentials and using those credentials to verify the user’s identity. If the credentials are valid, the authorization process begins. Authentication always follows authorization.
You were already familiar with the authentication procedure because we all go through it daily, whether at work (logging onto your computer) or at home (passwords) (logging into a website). However, most “things” connected to the Internet require you to provide credentials to prove your identity.
introduAuthorization
Authorization is the process of granting authenticated users access to resources by verifying whether they have system access permissions. Authorization allows you to restrict access privileges by granting or denying certain licenses to authenticated users.
After the system authenticates your identity, authorization occurs, providing you full access to resources such as information, files, databases, finances, locations, and anything else. While, on the other hand, authorization has an impact on your ability to access the system and the extent to which you can do so
What is JWT?
JSON Web Tokens (JWT); an open industry standard defined by RFC 7519 that represent claims between two parties. JWT can be decoded, verified, and produced using jwt.io, for example. JWT defines a concise and self-contained way for exchanging information between two parties as a JSON object.
This information may be reviewed and trusted because it is signed. JWTs can be signed with a secret (using the HMAC algorithm) or a public/private key pair from RSA or ECDSA. We’ll see some examples of how to use them in a bit.
Prerequisites
You’ll need the following items to follow along with this tutorial:
- A basic understanding of JavaScript is required.
- Node.js knowledge is required.
- You should have a basic understanding of MongoDB or any other database you choose to use.
- Postman and some understanding on how to utilize it.
Project Setup
- Create an empty folder.
- Open folder with any editor. I would highly recommend VS Code.
- Go to terminal from menu bar or press ctrl + shift + ~
- Type npm init -y and hit enter
- Now install following modules by command
- npm install express Nodemon cors dotenv jsonwebtoken mongoose
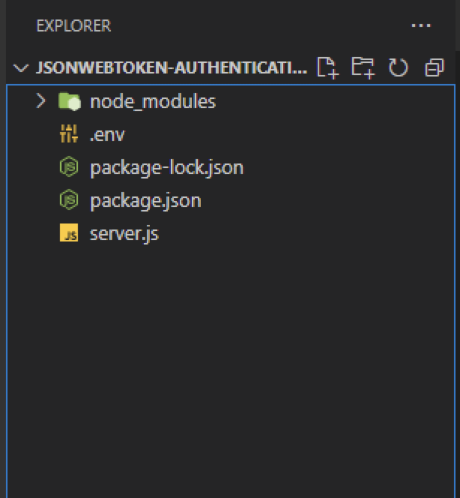
- Create an empty file named as server.js inside root directory, and put following code inside it
const express = require("express");
const cors = require("cors");
const dotEnv = require("dotenv");
const app = express();

//registering middlewares
dotEnv.config();
app.use(express.json());
app.use(cors());

//listening to server
const port = process.env.PORT || 5000;
app.listen(port, () => {
  console.log(`server is running on port ${port}`);
});
7. Create a .env file and put following code inside it.
PORT=5000
MONGO_URI=your mongodb url
JSON_WEB_TOKEN_SECRET=your secret here
Now your directory structure will be like this:
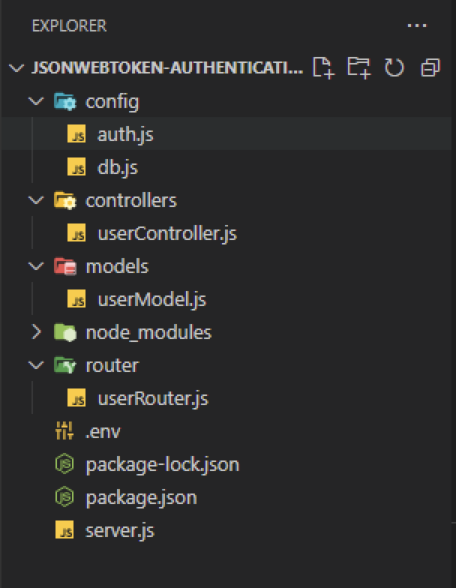
- Now create following directories inside root folder
- Router
- Config
- Models
- Controllers
- Make userRouter.js, userModel.js, and userController.js inside their respective folders..
- Create following files in config folder
- Auth.js
- Db.js
Your Directory structure will look like this:
Now put the following code inside db.js
const mongoose = require("mongoose");
const getConnection = async () => {
  try {
    const conn = await mongoose.connect(process.env.MONGO_URI, {
      useNewUrlParser: true,
      useUnifiedTopology: true,
    });
    if (conn) {
      console.log(`MongoDB Connected on ${conn.connection.host}`);
    } else {
      console.log("Failed to connect DB");
    }
  } catch (error) {
    console.log(`Failed with error: ${error.message}`);
  }
};

module.exports = getConnection;
Update Server.js file.
const express = require("express");
const cors = require("cors");
const dotEnv = require("dotenv");
const app = express();
const getConnection = require("./config/db");
//registering middlewares
dotEnv.config();
app.use(express.json());
app.use(cors());
//connecting to db
getConnection();
//listening to server
const port = process.env.PORT || 5000;
app.listen(port, () => {
console.log(`server is running on port ${port}`);
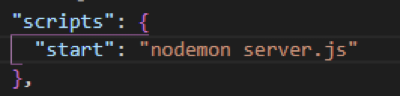
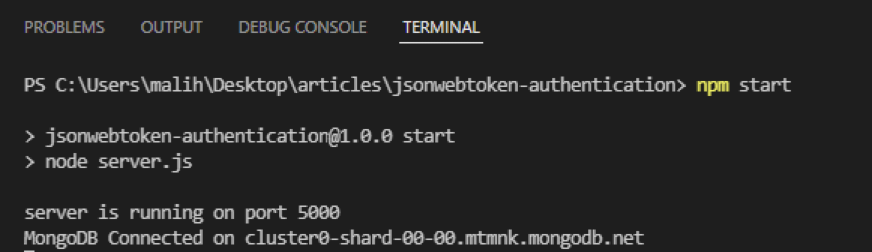
});Now go to package.json file and under scripts, remove “test” and instead of this add “start” and in the value of “test” add “nodemon server.js”, then go to terminal and type npm start, hit enter
Result:
Conclusion
Our server is set up now, and we are halfway through with creating an authentication API with jwt token in node js. We will now route, model, controller for the user in the next part.