Indroduction
What is NodeJS and why use it?
NodeJS is a JavaScript engine built by OpenJSF that allows developers to build event driven apps. Furthermore, due to its popularity, it plays a crucial role in many tech stacks, for example, the MERN and MEAN stacks. Moreover, since it allows for scalability and performance, major companies like NASA have used this technology to help astronauts and engineers navigate through space.
Under the hood, NodeJS utilizes the Chrome V8 engine, which means that most programs built with this engine are cross platform. As a result, this is a major advantage for programmers, since they don’t have to test and rewrite their code for different operating systems.
To put it in short words, NodeJS powers the web and ensures performance, ease of use and scalability. In this article, you will learn the fundamentals of the NodeJS engine.
Installation
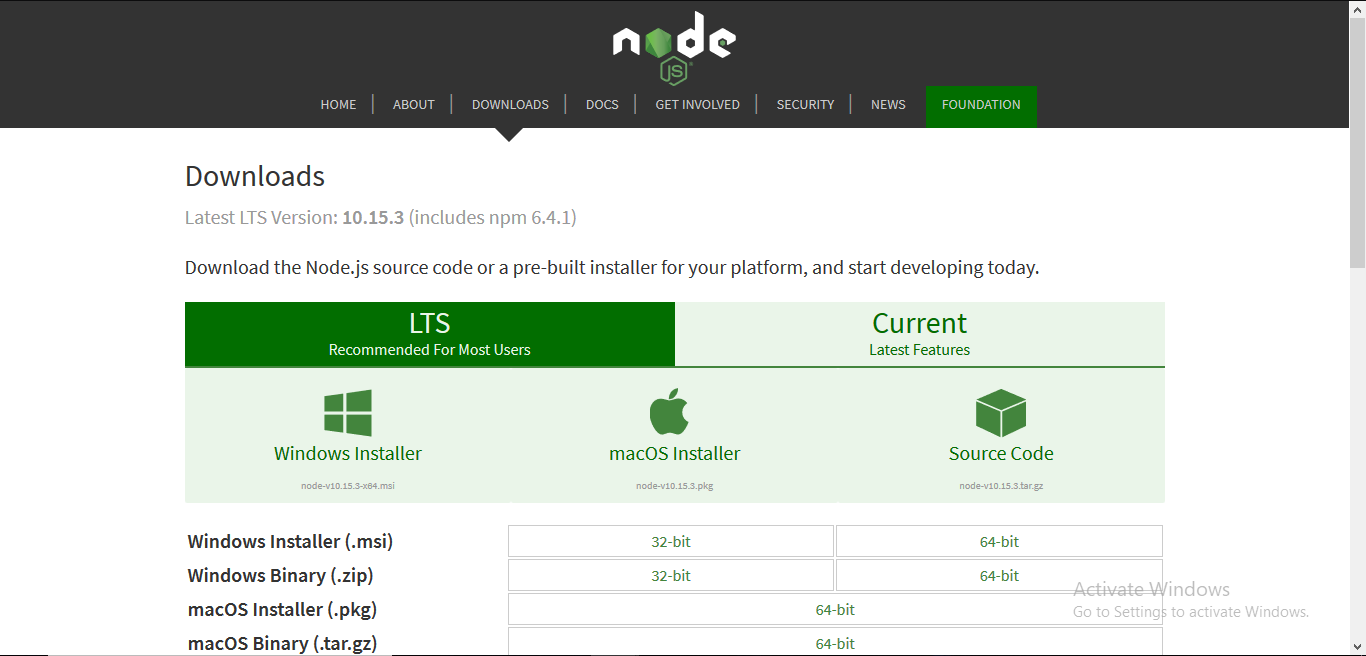
On Mac and Windows
To install NodeJS on your Mac or Windows machine, go to the program’s downloads page and select the relevant installation file. This will open an installation wizard which will help you get started with the NodeJS engine.
On Ubuntu/Debian Linux
The installation method on Linux distributions doesn’t include a GUI. Instead, you have to use the terminal to run Node programs on your system.
To do so, first start by start by writing the following terminal commands:
# first get the set up file and then add it as a PPA to the system
curl -fsSL https://deb.nodesource.com/setup_lts.x | sudo -E bash -
# Now that we have added the PPA, install NodeJS on the computer
sudo apt-get install -y nodejs
To check if the process was successful, execute this bash command:
node This should be the output:

Furthermore, Node also comes bundled with a package manager called NPM. We will learn about NPM later in this article.

Nodejs: The Basics
In this section, you will learn the building blocks of the NodeJS library.
Before getting started, first initialize a project with these bash lines:
mkdir beginners #create a folder for your repository
cd beginners #navigate to the folder
npm init -y #tell NPM that this will be a Node project
When that’s done, let’s write some code!
Outputting to the console
In this section, we will learn the fundamentals of NodeJS.
As the first step, create a file called hello.js. Here, write the following line:
console.log("Hello, world!");Here, we are outputting the words Hello World! to the console.
To run the program, run the node command in your file’s directory like so:
node hello.js #run the hello.js module
Great! Our code works.
Creating custom modules
Modules are reusable pieces of code which help keeping the code base clean and readable.
In your project folder, create a file called myHelperFunctions.js and write this snippet of code:
function sayHello(name) {
  console.log("Hello, " + name);
}
module.exports = sayHello;
Here’s a simple breakdown:
- Line 1: First, create a function called
sayHellowhich will accept an argument calledname. - Line 2: Later on, tell the program to output the words
Helloand append the value ofnameto the console. - Line 4:
module.exportstells JavaScript that we want to export thesayHellofunction. This means that we can now use thesayHellomethod in our project.
As the next step, create another file in the same directory called main.js. Here, write the following code:
const sayHello = require("./myHelperFunctions");
//use the function in our code.
sayHello("Hussain");- Line 1: Use the
requirekeyword to import thesayHellofunction from ourmyHelperFunctionsmodule. - Line 3: In the end, execute the function and pass an argument.
This will be the result:

Using built-in modules
Built-in modules are files that are created by the NodeJS team. They handle complicated operations like file management and network operations.
This code sample below uses the [fs](https://www.w3schools.com/nodejs/ref_fs.asp) module to read the contents of a text file:
var fs = require('fs');

fs.readFile('demofile.txt', 'utf8', function(err, data) {
  if (err) throw err;
  console.log(data);
});- Line 1: Import the
fsmodule. - Line 3: Use the
readFilemethod to procure the contents of thedemofile.txttext file. - Lines 4 and 5: If an error exists, log out the error. Otherwise, print the file contents to the console.
This will be the output:

Using external modules
Unlike built-in modules, external packages are built by the community and need to be installed via NPM before use. Common examples include [chalk](https://www.npmjs.com/package/chalk), [express](http://expressjs.com/) and [sharp](https://sharp.pixelplumbing.com/).
In this article, we will use the [validator](https://www.npmjs.com/package/validator) library to validate and sanitize string variables.
As the first step, first install validator with this bash command:
npm install validator #run this in your project folder.That’s it! The validator module is now installed in your project. To use it, write the following code:
var validator = require("validator");

const hussainResult = validator.isEmail("hussain.com");
console.log("is hussain.com an email? " + hussainResult);
const emailResult = validator.isEmail("hussain@gmail.com");
console.log("is hussain@gmail.com an email? " + emailResult);- Line 1: First and foremost, import
validatorinto the project. - Lines 3-6: Use our
isEmailfunction to validate if the arguments are valid email addresses.
Further resources
- Node.js and Express.js Full course by FreeCodeCamp
- Learn Node basics in 30 Minutes! by CodeStackr
- Introduction to Node.js by the Node.js official team
- What is Node.js why you should use it by Kinsta
Conclusion
NodeJS is an easy to use, performant and scalable library. This allows programmers to collaborate and build software in little to no time. Due to its robustness and stability, it has been used for more than a decade to run and maintain the modern web.
Thank you so much for reading! Happy coding!